

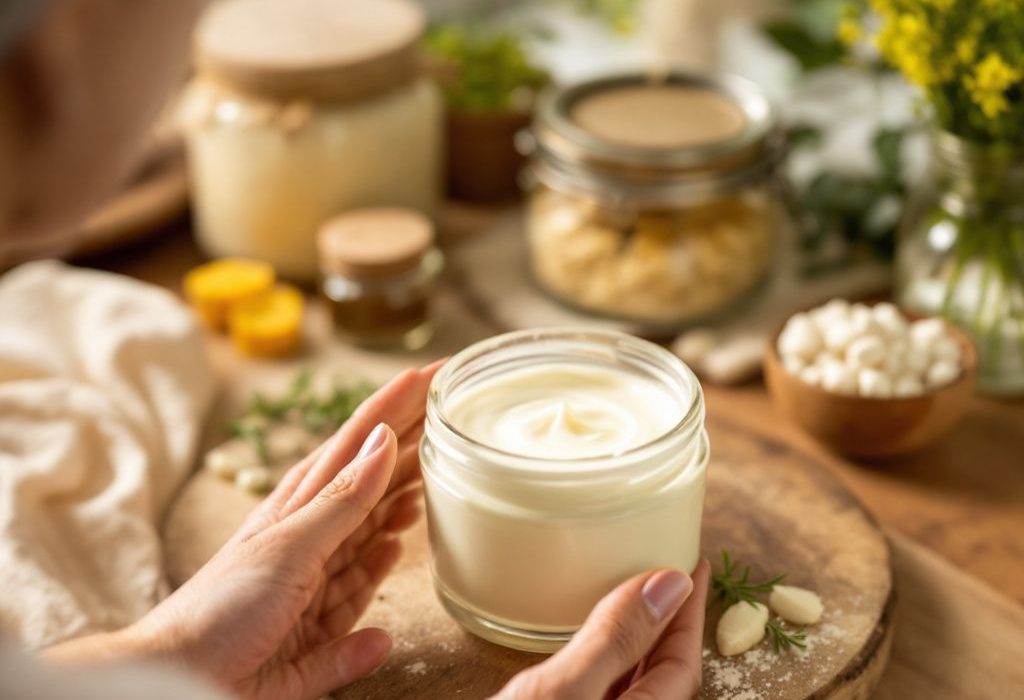
Have you ever wondered “how to make face cream” at home? Maybe you’re tired of the long lists of unreadable ingredients in store-bought products, or you’re looking to save a little cash while pampering your skin with something special. Either way, making your own face cream is not only a fun and satisfying project but also surprisingly easy. Trust me, once you get the hang of it, you’ll wonder why you ever spent a fortune on those tiny jars from high-end brands.
Why Make Your Own Face Cream?
Let’s start with why homemade face creams might just be the best thing ever. First thing, you get full control over what you’re putting on your skin. No more mystery chemicals, no surprises—only pure, natural ingredients that you choose yourself. Plus, it’s kind of a thrill knowing you made something special just for you. And if you’re into gifting, homemade skincare can be seriously impressive yet wonderfully personal.
So, if you’re game, let’s break down the whole “how to make face cream” adventure. Grab your apron—or not!—and let’s jump into the world of DIY skincare.
Essential Ingredients
Ah, the fun part—deciding what goodies will go into your face cream. With so few ingredients, it’s important to choose wisely.
- Carrier Oils: These are the base of your cream. Think olive oil, jojoba oil, or almond oil. They each bring something different to the party.
- Water or Floral Waters: Roses and lavender waters add a nice touch and smell amazing.
- Emulsifying Wax: It’s like the glue that keeps oil and water from splitting.
- Essential Oils: Add these for fragrance and skin benefits—lavender for soothing, tea tree for clarifying, and so on.
- Antioxidants: Vitamin E oil is popular as it helps with the shelf life of your product and is great for skin healing.
- Preservatives: Consider using natural preservatives to make sure your cream stays fresh and free from unwanted nasties.
Now that we’ve sorted out what you need, the next step on this “how to make face cream” journey is understanding why each ingredient is important. This knowledge will help you customize your own perfect cream blend.

The Whys Behind Each Ingredient
**Carrier Oils** range from light to heavy, offering different nutrients and benefits. Jojoba oil mimics natural skin oils, making it great for all skin types. If you’re prone to breakouts, grapeseed oil might be your go-to due to its light texture and non-comedogenic nature.
Moving to **Water or Floral Waters**—they hydrate and tone the skin, with rosewater providing a soothing and anti-inflammatory effect. Your choice of water helps determine whether your cream gives more hydration or soothing properties.
**Emulsifying Wax** isn’t just about keeping your concoctions from getting all weirdly separated. Having your cream hold together with a smooth consistency matters. Some wax types can add a level of softness to the formula, giving that creamy texture without the greasy feeling.
Choosing **Essential Oils** needs a little thought. You’re aiming for no more than 1% of your total mixture, which means a couple of drops go a long way. Want that spa-at-home vibe? Lavender oil is pretty relaxing! Fighting pesky blemishes? Opt for teatree or even a small amount of peppermint oil for its toning qualities.
Ah, my personal favorites: **Antioxidants** like vitamin E. While it’s only a small percentage of your blend, vitamin E works wonders on skin and helps to extend life expectancy of your glorious cream.
Now we’re diving deep into the details, and isn’t that fascinating?

Step-by-Step Recipe for Homemade Face Cream
Alright, ambition collected, ingredients stocked, let’s get down to the juicy part—actually making this face cream.
Equipment
Here’s what you will need—a mixing bowl, a heat-proof container, a whisk or hand blender, clean jars for storing, and don’t forget your measuring spoons or cups. No rocket science here, just kitchen basics.
Instructions
- Prepare Your Workspace
- Cleanliness counts, right? Sterilize all your equipment by boiling it for about 10 minutes.
- Lay out some paper towels or a clean cloth to dry everything off. You want everything super dry to prevent mold.
- Melt Oil and Wax Base
- Measure out your carrier oil and emulsifying wax. Let’s say ½ cup of the oil of your choice, and roughly 2 tablespoons of the wax.
- Carefully heat the mixture using a bain-marie or double boiler method until everything’s melted and well-mixed. Keep stirring it slowly.
- Combine with Water
- Allow the mix to cool until it’s still pourable but not hot.
- Gradually whisk in your viable option of floral water (around 1 cup). The magic starts here as they blend together.
- Blend Until Creamy
- Use a small hand blender or whisk thoroughly if you’re stirring by hand.
- You should start to see a thick, creamy consistency forming. If you feel fancy, a dash of creativity lets you blend! Light whipped cream sound good? Yeah, that’s your queue to stop whisking.
- 5. **Incorporate Add-ons
- Finally add your essential oils and vitamin E or pancake-like antioxidants. Mix all these gently but well.
- 6. **Jar Your Mix
- Transfer the cream into sterilized jars. Make sure they have a tight seal.
- Store your masterpiece somewhere cool and dark.
And there you have it! How exciting was that? Back to when I first tried – it took me twice to nail it but don’t sweat the trial and error. Each attempt teaches something new.

Customizing Your Face Cream
Now let’s riff a bit because why stop at the basics? What caught your skin’s attention? Add a few drops of chamomile oil for a calming bedtime routine, or toss in some argan oil for an anti-aging boost. It’s just that easy.
Here’s a handy little table if innovations wake you with delightful thoughts at 3 am:
| Goal | Ideal Ingredient |
|---|---|
| —— | —————– |
| Hydration | Hyaluronic Acid Drop |
| Brightening | Lemon or Grapefruit Oil (small doses!) |
| Acne-prone focus | Tea Tree Oil, Neem Oil |
| Anti-aging | Argan Oil, Evening Primrose |

Making It Long Term
Now that you’ve tackled how to make face cream, keep word-of-mouth gold in mind. Just like milk or eggs, homemade products can spoil if kept too warm or not clean. Usually 3-6 months in a fridge. If you enjoy testing samples on pals for feedback, elements might need shifting a bit, but always note new additions so you can track their impacts.
Face Cream Benefits Reassured
Remember, skincare is personal. The stuff that brings another glowing results might not carry the same hallmarks for every face. That’s the real beauty of whipping face cream in your kitchen. You balance towards preferences, skin feedback, climatic matches; everything according just to you.
Amidst the chaos and formulas start sliding like magic—embrace it, enjoy it, and let the natural wonders light your smile the same way it gently reclines pleasure upon the everyday skin. Now enjoy your spa-made face cream indulgence. How illuminating did that feel, transforming those drab bottles from store shelves into this? I say step into light on this and other simple yet enriching skincare practices today—DIY style.
Frequently Asked Questions
What are the benefits of using a hair mask in my hair care routine?
Using a hair mask can provide several benefits, including hydration, smoothing, strengthening, curl definition, heat protection, and damage repair. Hair masks infuse the hair with moisture, help coat the hair shaft to seal split ends, reduce breakage, and protect the hair from heat styling and environmental damage[1][4].
What ingredients should I look for in a hair mask?
Effective hair masks often include ingredients such as coconut oil, argan oil, shea butter, honey, avocado oil, green tea, and coconut water. These ingredients provide nourishment, moisturize, and protect the hair, offering benefits like softening, moisturizing, and protecting against damage[2][5].
How often should I use a hair mask in my routine?
You should use a hair mask whenever your hair feels dry, unmanageable, or in need of intense hydration. This can vary depending on your hair type and needs, but generally, using a hair mask once or twice a week can help maintain healthy and moisturized hair[1][4].
How do I apply a hair mask for the best results?
To apply a hair mask effectively, shampoo your hair first, then apply the mask, focusing especially on the ends where hair tends to be the most damaged. Leave the mask on for anywhere from 10 minutes to overnight, depending on the type of mask and your hair’s needs[1][4].
References