

If you’ve ever looked in the mirror and thought, “Hmm, where did that wrinkle come from?” you’re definitely not alone. It seems like one day, you just wake up and there’s a tiny little reminder that time is, in fact, moving forward. It’s ironic, isn’t it? We want our wisdom to show but maybe not right away on our skin! But fear not, because today we’re diving into something you might not have tried yet—homemade anti aging cream. Sounds intriguing, right?
Why Go Homemade?
Alright, let’s talk about store-bought creams for a second. Sure, they’re convenient. You grab ’em off the shelf, pay your bucks, and voila! But here’s the thing—many are loaded with preservatives and chemicals whose names sound like they’re straight out of a sci-fi novel. These might not do any harm outright, but sometimes they lack the personalized touch your skin might need. Plus, they often come with a price tag that could make anyone let out a deep sigh.
Switching over to DIY skincare isn’t just about cutting costs though. It’s about control. Control over all those ingredients you put on your face, knowing exactly what’s going into your skin can be a game-changer. Plus, let’s be honest here, blending up natural, recognizable ingredients gives a weird sense of empowerment. Like a tiny science experiment that’s all about you!
The Basics of Homemade Anti Aging Cream
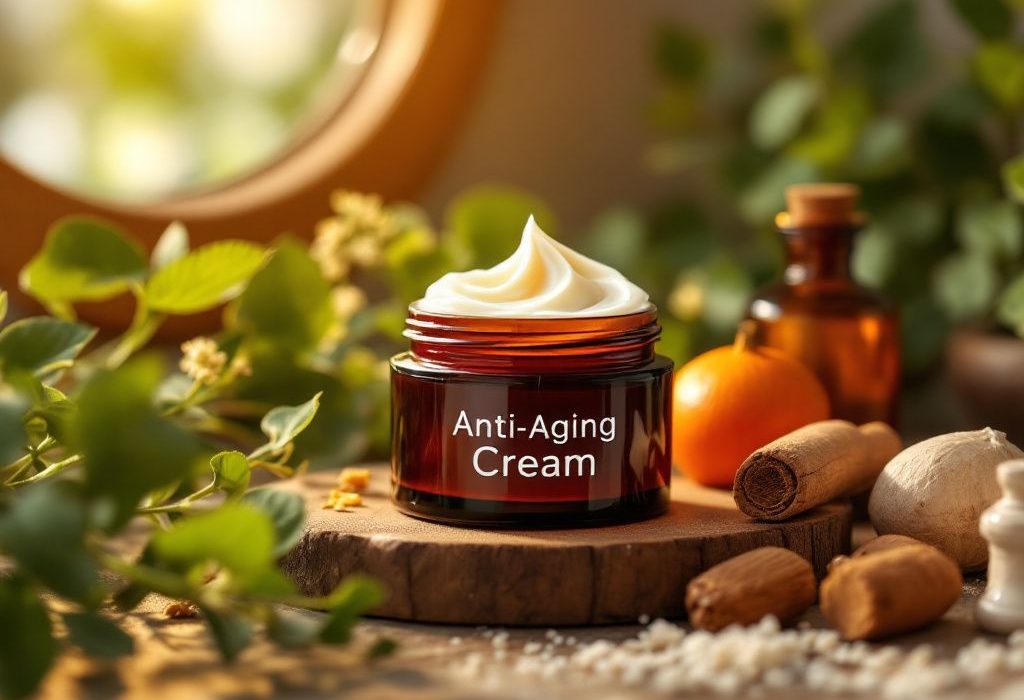
Before we jump into recipes, let’s chit-chat about what makes a good anti aging cream in the first place. Essentially, we want ingredients that hydrate, repair damage, and help with elasticity. Natural ingredients often come packed with antioxidants, vitamins, and essential fatty acids—all things your skin will thank you for.
Ingredients to Look Out For
- Aloe Vera: I mean, who doesn’t love a good ahh moment with aloe? It’s soothing, hydrating, and fantastic for calming inflammation.
- Rosehip Oil: Not just a fancy name, it’s rich in vitamin A and essential fatty acids. Perfect for rejuvenating your skin and evening out skin tone.
- Jojoba Oil: Super hydrating and mimics natural skin oils, which makes this a winner. Plus, it’s lightweight, so no greasy feels afterward.
- Shea Butter: Thick, luxurious, and pairs well with other oils to add moisture and firmness to your skin.
- 5. **Vitamin E Oil: This one’s like the superhero of the bunch, known for its super antioxidant properties that battle those pesky free radicals.
Your DIY Anti Aging Cream Recipe

Now, I’m not saying this is a one-size-fits-all sort of solution. But, hey, you might find it’s perfect for your needs. Here’s a simple recipe to start you off:
Ingredients:
- tablespoons of shea butter
- tablespoon of coconut oil
- tablespoon of jojoba oil
- tablespoon of rosehip oil
- 0 drops of vitamin E oil
- 0 drops of essential oil (like lavender or frankincense for added benefits)
Directions:

- Melt the Butter and Oil: Start by gently melting your shea butter and coconut oil. You can do this in a double boiler setup or just in a bowl over a pot of boiling water. Easy peasy.
- Mix in Other Oils: Once melted, remove from heat and let it cool slightly. Mix in the jojoba, rosehip, and vitamin E oils. Stir it up nice and thorough.
- Add the Essential Oils: Pop in your essential oil drops for an added boost—and, of course, for that spa-like smell!
- Cool and Whip: Place this mixture in the fridge until it’s solid. This might take about 30 minutes to an hour. Once it’s settled, use a hand mixer to whip it for a nice creamy texture.
- 5. **Store It: Keep your cream in a clean, airtight container. Make sure it’s something cute, too. A little vanity love never hurts, does it?
Routine Matters a Lot
Now that you’ve got your personalized, homemade anti aging cream ready to go, when do you use it? Morning, night, both? Trust me on this one—evening application right after you wash your face is pure magic. Your skin naturally repairs itself overnight, and that’s when your little DIY pressure valve can help it do its job way better.
Maybe, just maybe, follow up with a lightweight natural oil if you need extra hydration, because it isn’t cast in stone. And just a heads up, if your skin feels a tad oily, especially when you’re exploring cream for the first time, hang in there. It’s all part of your skin adjusting to newfound love.

Curious? Adjust and Experiment!
No rule says you can’t make a tweak here or there. Remember that tiny experiment feeling we talked about? It’s your skin and your routine after all!
Tweaks You Might Want
- Different Base Oils: Like grapeseed oil, which absorbs quickly and has a slight anti-inflammatory effect.

- Deco Herbal Infusion: Think chamomile or green tea. Just infuse it into your liquid base for a few hours for added benefits.
- More Essential Oils: Play around with scents or more therapeutic oils—they don’t just smell pretty, some could even target specific skin issues like acne.
Need a Little Peer Approval?
I’ve had folks say their skin feels a lot more supple because of this, or the crow’s feet just seem a little bit less…defined. It’s the little changes that are telling. Imagine gifting such lovely jars during the holidays, too. Handmade care feels wonderful—whether giving or receiving.
So, if you’re pondering whether to dive into the magical, curious world of making things in your kitchen for the love of your skin, give this a try. You’re already armed with knowledge and recipes; just a little guts and persistence, and you’ve got yourself a homemade anti aging cream regime. Who knows, maybe it’s just the nudge you need to feel a little more like your glowing, charged-up self again!
Frequently Asked Questions
What are the benefits of using a hair mask in my hair care routine?
Using a hair mask can provide several benefits, including hydration, smoothing, strengthening, curl definition, heat protection, and damage repair. Hair masks infuse the hair with moisture, help coat the hair shaft to seal split ends, reduce breakage, and protect the hair from heat styling and environmental damage[1][4].
What ingredients should I look for in a hair mask?
Effective hair masks often include ingredients such as coconut oil, argan oil, shea butter, honey, avocado oil, green tea, and coconut water. These ingredients provide nourishment, moisturize, and protect the hair, offering benefits like softening, moisturizing, and protecting against damage[2][5].
How often should I use a hair mask in my routine?
You should use a hair mask whenever your hair feels dry, unmanageable, or in need of intense hydration. This can vary depending on your hair type and needs, but generally, using a hair mask once or twice a week can help maintain healthy and moisturized hair[1][4].
How do I apply a hair mask for the best results?
To apply a hair mask effectively, shampoo your hair first, then apply the mask, focusing especially on the ends where hair tends to be the most damaged. Leave the mask on for anywhere from 10 minutes to overnight, depending on the type of mask and your hair’s needs[1][4].
References