
Hey there! Are you tired of searching for a miracle in a jar that just doesn’t seem to work? Trust me, you’re not alone. We’ve all been there, staring at countless beauty products promising eternal youth, only to be let down. Here’s something you might not have considered: crafting your own anti-aging face cream. Seriously, it’s easier than you think. Plus, it’s a game-changer. Stick around, and let’s dive into this together.
The Search for the Elusive Anti-Aging Potion
First off, let’s chat about why we even need an anti-aging face cream recipe. It all comes down to maintaining our skin’s health as we age. Over time, our skin loses its natural elasticity and moisture, leading to dreaded fine lines and wrinkles. Ugh, right? Commercial creams might slap on a temporary fix, but those packed with harsh chemicals can do more harm than good over time. That’s where the charm of homemade concoctions comes in. You’re the chef and can control what goes into the mix.
First Thing’s First: Ingredients Matter
When creating an anti-aging face cream, ingredients are key. Seriously, each element plays its part. Moisturizing, repairing, preventing damage – it’s a real team effort. Think of it like cooking a favorite dish. You need the right stuff in the right amounts.
Here are some superstar components you’ll want to get familiar with:
- Shea Butter: Oh, the buttery goodness! This stuff is incredibly nourishing and locks moisture in like a pro.
- Argan Oil: Packed with vitamin E and essential fatty acids, argan oil hydrates and renews.
- Vitamin E Oil: It’s got antioxidant properties that help fend off free radicals. Less damage means youth vibes!
- Jojoba Oil: Super close to the skin’s natural oil, this one’s excellent for moisturizing without making you feel greasy.
- Essential Oils: Pick your favorites like lavender or frankincense for an extra touch of nourishing effects and scent.
With these simple, natural ingredients, you’re not just hoping for the best—you’re actively working with nature.

Crafting Your Personalized Anti-Aging Face Cream
Here comes the fun part. Rolling up your sleeves and mixing up your very own anti-aging remedy. Let’s break it down:
What You’ll Need:
- /4 cup shea butter
- tablespoons argan oil
- tablespoon jojoba oil
- teaspoon vitamin E oil
- 0 drops of your chosen essential oils (lavender, frankincense, or both!)
Step-by-Step Guide
**1. Melting the Shea Butter:** Gently melt the shea butter in a double boiler. Not feeling fancy enough for a double boiler? No prob—stick a heat-safe bowl over a simmering pot of water. No direct heat here, trust me on that one.
**2. Blending Oils:** Once the butter’s all nice and melty, remove it from heat. Add your argan, jojoba, and vitamin E oils. Give it a good mix.
**3. Essential Oil Time:** Now’s the time for a lil magic. Essential oils are super potent, so a little goes a long way. Drop them in and stir to blend everything up.

**4. Chill and Whip:** Pop the mixture in the fridge for about 30 minutes until it firms up but isn’t too solid. Then, take it out and whip it. Use a mixer if you’re feeling fancy for an airy texture or good ol’ elbow grease with a fork can work too.
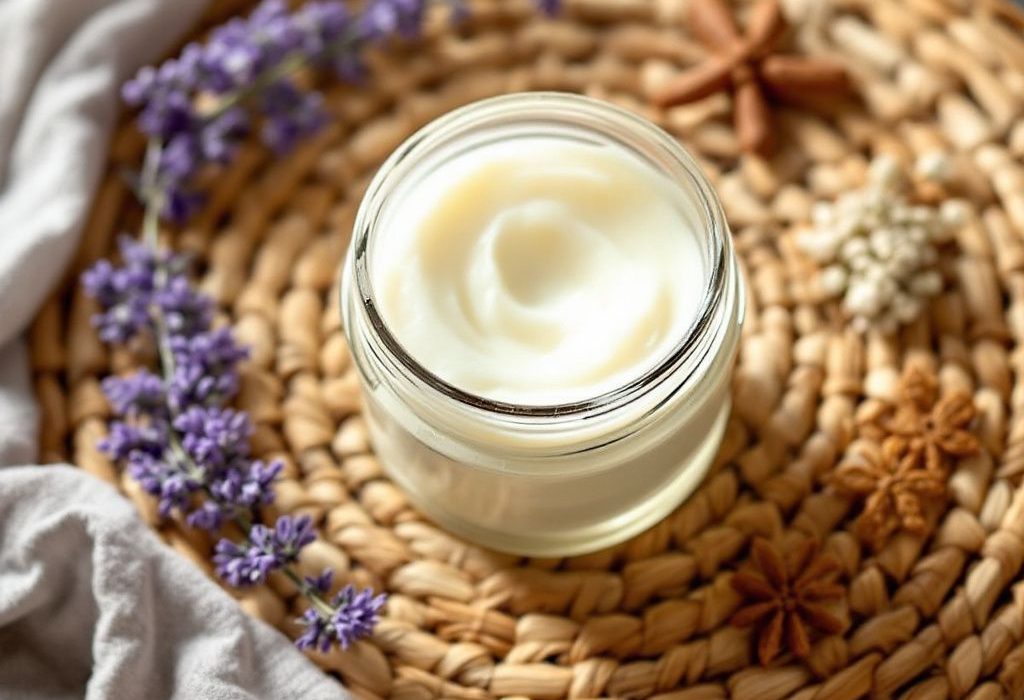
**5. Store in a Jar:** Grab a clean, airtight jar to keep your cream fresh. It should last a couple of months, but if you’re like most people, it’ll be gone before then.
Why This Homemade Magic Works
So, why is this anti-aging cream such a win? The blend is designed to offer deep hydration while packing in antioxidants that fight skin damage. The shea butter restores the elasticity of your skin while the oils keep moisture locked in. Plus, the essential oils not only smell divine but can boost your mood. It’s pretty much a spa-in-a-jar.
Making It Personal
Here’s a cool part: tweak this recipe to suit your skin type or personal taste. Extra dry skin? Add a smidge more argan oil. Prefer a specific scent? Customize your essential oils. That’s the beauty—no one-size-fits-all.
Oh, and here’s a pro-tip: natural creams might be more sensitive to temperature changes, so keep yours in a cool, dry place. It’ll ensure the consistency remains just right.
Benefits of DIY Anti-Aging Cream

Wondering why you should craft your own anti-aging cream? Here are a few solid reasons:
- Avoids Chemicals: Know exactly what’s going on your skin.
- Cost-Effective: Fewer trips to the beauty store, and goodbye to overpriced creams.
- Customizable: Tailor it to fit your needs and preferences.
- Sustainable: Eco-friendly with less waste and natural ingredients.
- 5. **Empowerment: Understanding what different nutrients do for your skin gives you control.
Feeling inspired yet? Seriously, you’ve got all you need at your fingertips.

Final Touches and Troubleshooting
Hey, if at first, you don’t succeed (mixing can sometimes be a bit finicky), don’t stress it. The beauty of homemade creations is they evolve. Maybe your next batch has a bit more of this or a touch less of that. It’s all about finding balance and what works best for you.
Taking It Up a Notch
Want to amplify the results? Pair your DIY anti-aging face cream with some good lifestyle habits. Hydrate regularly, prioritize a balanced diet, and make sure to catch enough zzz’s. Skincare is holistic, after all.
And there you have it—a stellar anti-aging face cream recipe that’s way more satisfying than anything snagged from a store shelf. Plus, it indeed feels great being the alchemist of your own beauty routine. Don’t be shy—give this a try, and here’s to skin that’s just as youthful as you feel!
Frequently Asked Questions
What are the benefits of using a hair mask in my hair care routine?
Using a hair mask can provide several benefits, including hydration, smoothing, strengthening, curl definition, heat protection, and damage repair. Hair masks infuse the hair with moisture, help coat the hair shaft to seal split ends, reduce breakage, and protect the hair from heat styling and environmental damage[1][4].
What ingredients should I look for in a hair mask?
Effective hair masks often include ingredients such as coconut oil, argan oil, shea butter, honey, avocado oil, green tea, and coconut water. These ingredients provide nourishment, moisturize, and protect the hair, offering benefits like softening, moisturizing, and protecting against damage[2][5].
How often should I use a hair mask in my routine?
You should use a hair mask whenever your hair feels dry, unmanageable, or in need of intense hydration. This can vary depending on your hair type and needs, but generally, using a hair mask once or twice a week can help maintain healthy and moisturized hair[1][4].
How do I apply a hair mask for the best results?
To apply a hair mask effectively, shampoo your hair first, then apply the mask, focusing especially on the ends where hair tends to be the most damaged. Leave the mask on for anywhere from 10 minutes to overnight, depending on the type of mask and your hair’s needs[1][4].
References