
Ever caught yourself in the mirror, eyes narrowing at those fine lines or maybe furrowing at unexpected wrinkles? It can be quite a moment, right? You’re not alone—the quest to age gracefully has got folks looking for answers all over the place. Sure, there’s a sea of products out there, but what if I told you that the answer might be sitting unassumingly in your kitchen cabinet? Yes, I’m talking about a homemade anti aging cream recipe. It’s like having a little concoction of youth at your fingertips, and trust me, it’s easier than you’d think.
Why Make Your Own Anti Aging Cream?
Before we dive deep into mixing and stirring, think about why you’d want to make your own cream in the first place. First off, there’s the harsh reality of many store-bought products that often come with a string of ingredients you can’t even pronounce. Hempbendol-furyal-whatnow? No, thank you. Then there’s the whole issue of cost. I mean, have you seen the price tag on some of those tiny jars? Making your own beauty elixirs is not only wallet-friendly but can also ensure you’re not slathering any unwanted chemicals on your precious skin.
What Makes a Great Anti Aging Cream?
Before we jump into the heart of things, let’s chat about key ingredients. An effective anti aging cream should have elements that genuinely benefit your skin. Think of these ingredients as your new best friends in your skincare journey:
- Aloe Vera: Soothing and hydrating, it’s a skin savior.
- Coconut Oil: Rich in antioxidants, it’s nature’s moisturizer.
- Shea Butter: Deeply nutritious with vitamins A, E, and F. More like a spa day for your face.
- Essential Oils: Smell like heaven while doing heavenly things for your skin.
- Vitamin E: The hero antioxidant that lessens scars and wrinkles.
The great part? We’ll be using many of these as we whip up our creamy magic.

The Ultimate DIY Anti Aging Cream Recipe
Ingredients
- tablespoons of **Shea Butter
- tablespoons of **Coconut Oil
- tablespoon of **Beeswax Pellets
- teaspoon of **Vitamin E Oil
- 0 drops of **Frankincense Essential Oil
- 5 drops of **Lavender Essential Oil
Directions
- Melt the Basics
- Start by grabbing a heat-resistant bowl or a double boiler. Toss in your shea butter, coconut oil, and beeswax pellets. Gently melt them over medium heat. Stir as you go—watch the transformation from solid to liquid silver. It’s strangely satisfying.
- Cool and Stir
- Once melted, take the blend off the heat and let it cool for a tad—starting to solidify but still pliable. Throw in the vitamin E oil now. By the time you stir this in, you’ll be concocting something that smells pretty impressive.
- Make It Scented and Sensational
- Now for the essential oils. Frankincense doesn’t just sound posh; it helps rejuvenate the skin. Lavender, while mainly there for its soothing scent, also helps with inflammation. Seems like a win-win in so many small bottles.
- Pour into Jar, Let It Set
- Pour your creation into a jar and let it set completely. That’s about it! Wasn’t too complicated, right?
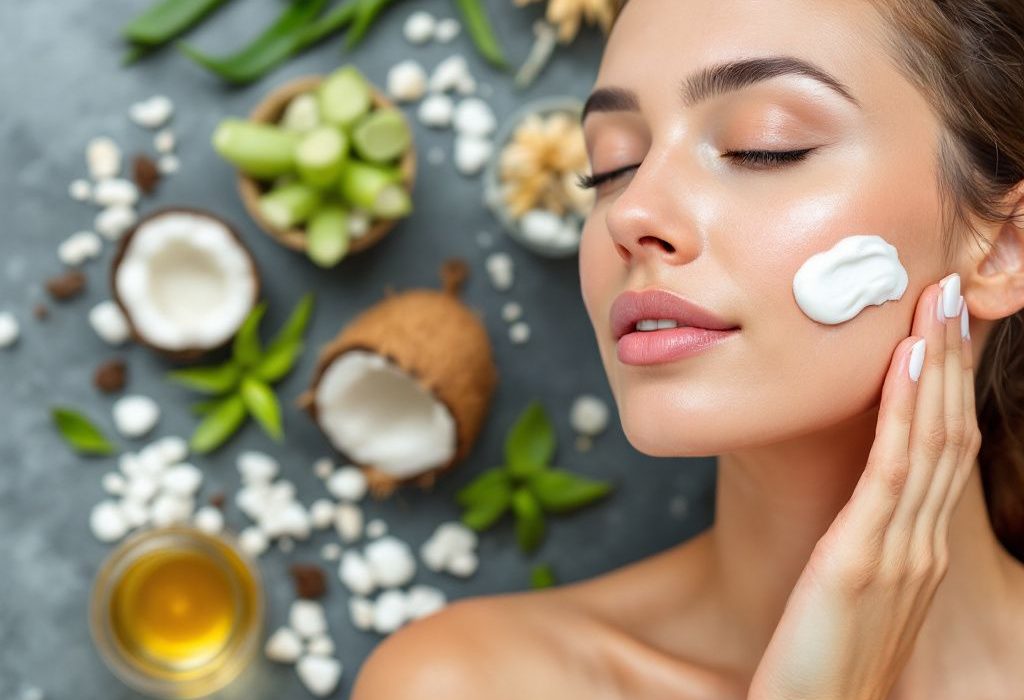
A Closer Look at Our Ingredients and Why They Shine

Coconut Oil: Nature’s Love for Your Skin
You’ve probably seen coconut oil make its mark even outside the kitchen. This stuff is loaded—like really loaded—with antioxidants and acts as a thick, creamy skin protector.
Aloe Vera: The Cooling Hydra
Don’t underestimate this household plant. Aloe Vera isn’t just for sunburns—it hydrates dry skin and even helps promote skin cell turnover.
Beeswax: The Protective Barrier
A natural barrier cream, honestly underrated. While it locks in moisture, it also let’s pores breathe freely. No more wanton suffocating of your face goodness.
Shea Butter: The Deep Conditioner
Recognize those three letters: A, E, and F. Shea butter brings vitamins well-known for reducing skin inflammations and encouraging healthy skin tone.
Proper Storage Tips

Our journey isn’t over once the cream is made. Keep it fresh; here’s how:
- Store it Cool: Warm environments can cause it to melt.
- Use Clean Spoons: No fingers directly in the jar—avoid contaminating your DIY gem.
Over time, and with proper care, that cream can stay potent and shelter your skin for months.

But Does It Work?
Using a homemade anti aging cream doesn’t mean waking up to a wrinkle-free mirror duet overnight. Consistency is key. Apply nightly after cleansing. It’s like a cozy, soothing ritual, made only better by knowing what exactly goes onto your skin.
Side note? Beyond lovely skin, it’s oddly therapeutic—the act of crafting something beneficial for ourselves. It’s a small step in sustainable living, too. And that’s making every wrinkle smooth, one drop at a time.
Final Thoughts on DIY Beauty
Hopefully, you’re feeling excited to embark on this skin-loving journey. Give this “anti aging cream recipe” a try and watch how the power lies in homemade goodness. And hey, even if you’re not a wizard in the kitchen, in terms of skincare? You’re creating a masterpiece for yourself. Just imagine looking back a few months from now, proud awareness of making something rather than buying it. It’s addicting. Youth in a jar, blended with whimsy, practicality, and a spritz of joy—now that’s something worth trying.
Frequently Asked Questions
What are the benefits of using a hair mask in my hair care routine?
Using a hair mask can provide several benefits, including hydration, smoothing, strengthening, curl definition, heat protection, and damage repair. Hair masks infuse the hair with moisture, help coat the hair shaft to seal split ends, reduce breakage, and protect the hair from heat styling and environmental damage[1][4].
What ingredients should I look for in a hair mask?
Effective hair masks often include ingredients such as coconut oil, argan oil, shea butter, honey, avocado oil, green tea, and coconut water. These ingredients provide nourishment, moisturize, and protect the hair, offering benefits like softening, moisturizing, and protecting against damage[2][5].
How often should I use a hair mask in my routine?
You should use a hair mask whenever your hair feels dry, unmanageable, or in need of intense hydration. This can vary depending on your hair type and needs, but generally, using a hair mask once or twice a week can help maintain healthy and moisturized hair[1][4].
How do I apply a hair mask for the best results?
To apply a hair mask effectively, shampoo your hair first, then apply the mask, focusing especially on the ends where hair tends to be the most damaged. Leave the mask on for anywhere from 10 minutes to overnight, depending on the type of mask and your hair’s needs[1][4].
References