

You know how it is when you suddenly catch a glimpse of your reflection and wonder where those fine lines and wrinkles came from. It’s like they sneak up on you, right? And then the endless hunt begins: creams, potions, serums—each claiming to be some elixir of life. But, often those store-bought solutions come with questionable ingredients that make you hesitate. Here’s the nifty news: crafting your own anti aging serum recipes can be a game-changer. Seriously, it feels like rediscovering ancient wisdom your skin has been craving.
Why Go DIY?
Unlike commercial products that could be a cocktail of chemicals, homemade serums let you be in complete control of what you’re slathering on your face. Reduce your exposure to synthetic stuff, and tailor your blend to fit your skin’s personal needs. Plus, it can be so much more affordable!
Also, there’s something downright therapeutic about mixing your creations, knowing you’re nourishing your skin with nature’s goodness. Let’s dive into how you can create your own anti aging serums right there in your kitchen.
The Basis of Any Great Serum: Carriers and Essential Oils
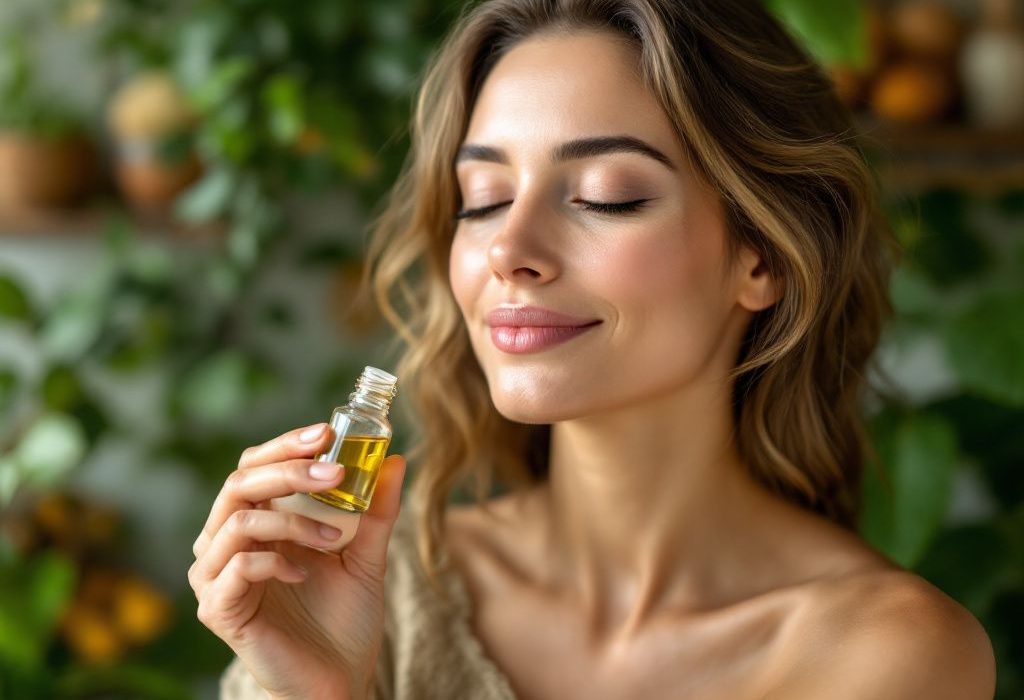
If you’re new to crafting skin potions, understand this: an effective serum usually starts with a carrier oil. They are crucial as they help dilute essential oils and work as a medium to deliver the goodness to your skin. Then, you jazz it up with your choice of essential oils, depending on the benefits you are aiming for.
Picking the Right Carrier Oils
- Sweet Almond Oil: Lightweight and packed with Vitamin E, it’s excellent for hydrating and protecting the skin barrier. All-around favorite.
- Jojoba Oil: Mimics the skin’s natural oils, making it a fantastic choice for balancing oily complexions. Plus, it’s got this way of providing hydration without the heaviness.
- Argan Oil: Known for its anti-inflammatory properties, Argan oil works wonders for those with sensitive or aging skin. Rich in fatty acids and antioxidants.
- Rosehip Seed Oil: Renowned for diminishing scars and fine lines. It’s like a secret potion, boasting vitamins A and C.
Essential Oils That Pack a Punch

- Frankincense: Helps improve skin tone and elasticity. When applied consistently, it can noticeably reduce wrinkle depth.
- Lavender: Not just for its calming scent, but it also helps regenerate skin cells. An all-star in the anti-aging arena.
- Geranium: Known for tightening and toning. Plus, it balances natural oils—great if your face has a personality of its own when it comes to oil production.
- Carrot Seed: High in antioxidants, it helps counteract damage from the environment. Fantastic for promoting cell regeneration.
Getting Crafty: Tried and True Anti Aging Serum Recipes
Alright, let’s get into the actual making! Trust me, you’ll feel like a potion master whipping these up—cue the dramatic science lab music.
Recipe 1: Wrinkle Vanishing Serum
**Ingredients:**
- tablespoons Jojoba Oil
- tablespoon Argan Oil
- 5 drops Frankincense Essential Oil
- 5 drops Lavender Essential Oil
**Instructions:**

- Mix all the oils in a small, dark glass bottle. It’s key for preserving the potency of the essential oils.
- Shake it gently to blend.
- Use night-time, applying a few drops to a clean face.
Recipe 2: Glow Revival Serum
**Ingredients:**
- tablespoons Sweet Almond Oil
- tablespoon Rosehip Seed Oil
- drops Geranium Essential Oil
- drops Carrot Seed Essential Oil
- drops Lavender Essential Oil
**Instructions:**
- Combine all ingredients in your bottle of choice. Give it a gentle swirl.
- Use morning or night; massage into your skin with love and let it soak in.
Remember, Test Your Skin First
Here’s a pro tip: before slathering your new serum over the entire face, do a patch test. Apply a tiny amount on a small patch of skin—your inner arm works great. Wait for 24 hours to see if there’s any gnarly reaction. No one likes surprises when it comes to skin reactions.
Storing Your DIY Serums

A Few Tips to Keep Things Fresh
- Use a dark glass bottle: This minimizes light and heat exposure. Think shaded, cool spots when storing it.
- Label it: Saves you from getting mixed up with your other brews.
- Max lifespan: These homemade concoctions are best used fresh, so try to whip up a new batch every few weeks.
Bonus Touch: Incorporate a Simple Facial Massage
Pairing your freshly crafted serum with a facial massage can multiply the benefits exponentially. And, you know what’s great about a massage? It boosts circulation, encourages lymphatic drainage, and helps the serum penetrate deeper.
How to Massage

- Start with gentle upward strokes using your fingertips. Remember, gravity is already working to pull things down—so try to work in the opposite direction.
- Focus on areas prone to deeper lines like the forehead, around the eyes, and smile lines.
- A few minutes is all it takes, but if you’ve got the time, indulge—consider it face therapy.
The Joy of Creating Your Routine
Now, more than just a ritual, this becomes a wholesome experience—a chance to connect with yourself each day. Crafting your anti aging serum recipes isn’t just a beauty routine, but it’s also about embracing self-care in a simple yet meaningful way. The process is just as joyful as the results you’ll soon notice on your skin. Give this a try—you’ve got nothing to lose, except maybe a wrinkle or two. Embrace the adventure and the fresher-looking skin.
Frequently Asked Questions
What are the benefits of using a hair mask in my hair care routine?
Using a hair mask can provide several benefits, including hydration, smoothing, strengthening, curl definition, heat protection, and damage repair. Hair masks infuse the hair with moisture, help coat the hair shaft to seal split ends, reduce breakage, and protect the hair from heat styling and environmental damage[1][4].
What ingredients should I look for in a hair mask?
Effective hair masks often include ingredients such as coconut oil, argan oil, shea butter, honey, avocado oil, green tea, and coconut water. These ingredients provide nourishment, moisturize, and protect the hair, offering benefits like softening, moisturizing, and protecting against damage[2][5].
How often should I use a hair mask in my routine?
You should use a hair mask whenever your hair feels dry, unmanageable, or in need of intense hydration. This can vary depending on your hair type and needs, but generally, using a hair mask once or twice a week can help maintain healthy and moisturized hair[1][4].
How do I apply a hair mask for the best results?
To apply a hair mask effectively, shampoo your hair first, then apply the mask, focusing especially on the ends where hair tends to be the most damaged. Leave the mask on for anywhere from 10 minutes to overnight, depending on the type of mask and your hair’s needs[1][4].
References