
Ever spent a small fortune on anti-aging creams only to discover that they fall short of their promises? You’re definitely not alone. Trust me, I’ve been down that road too. That’s why today, let’s dive into something exciting and empowering. We’ll chat about how you can make your own DIY anti aging cream right at home. And it’s easier than you might think. We’ll keep things light, casual, and most importantly, simple.
Why Consider DIY Anti Aging Cream?
Honestly, it’s kind of amazing—when you first consider making something like anti-aging cream yourself, it can seem daunting. But then, why not give it a go? Commercial creams are loaded with chemicals, right? Preservatives, artificial colors, fragrances—the list goes on. Creating your own ensures you know exactly what’s going on your skin. Plus, you know your skin better than any cosmetic company does.
The Perks
- Cost-Effectiveness: Most quality anti-aging products ain’t cheap. Your wallet will thank you when you see the savings with DIY.
- Natural Ingredients: Embrace the pure, unadulterated goodness of nature. No surprise side effects because everything’s straight from your kitchen cupboard or the nearest health store.
- Customization: Tailor the cream to suit your specific needs. Dry skin? Add more moisturizing agents. Acne-prone? Add blemish-fighting components.
What You’ll Need

Before jumping into making your own cream, gather these essentials. They’re pretty straightforward, and many are likely already in your pantry or at your nearest health supplement shop.
Base Ingredients
- Coconut Oil: Great for hydration and reducing fine lines.
- Shea Butter: Excellent for moisturizing and aiding skin elasticity.
- Beeswax: The binding ingredient that gives your cream its texture.
Add-Ons for the Perfect Potion
- Vitamin E Oil: Super handy for those pesky fine lines.
- Essential Oils (like Lavender or Frankincense): Choose based on preference and skin needs. Lavender helps calm irritated skin, while frankincense is known for its anti-aging properties.
- Aloe Vera Gel: Offers soothing and healing properties. Sometimes you don’t even realize your skin needed soothing until it gets it!
Crafting Your Anti Aging Cream
Alright, now that you’ve got everything ready, just dive in. You’ll find it’s not rocket science—just some easy cooking that benefits your outer layer, not your tummy for a change.
Step-by-Step Method

- Melting the Base: Start by melting ½ cup of coconut oil and ¼ cup of shea butter in a double boiler. Throw in 2 tablespoons of beeswax while you’re at it. Stir until everything’s melted and blended like a dream.
- Infusing Goodness: Once everything is smoothly melted together, remove it from heat. Add in a teaspoon of vitamin E oil—feel free to be a bit generous here. Mix well.
- Customizing with Essential Oils: Add a few drops of your favorite essential oils. About 5 drops should do, but you’re the boss here—adjust based on how much you adore the scent.
- Incorporating Aloe Vera: Finally, add ¼ cup of aloe vera gel slowly while stirring. This will not only boost hydration but give your cream a spectacular texture and soothing effect.
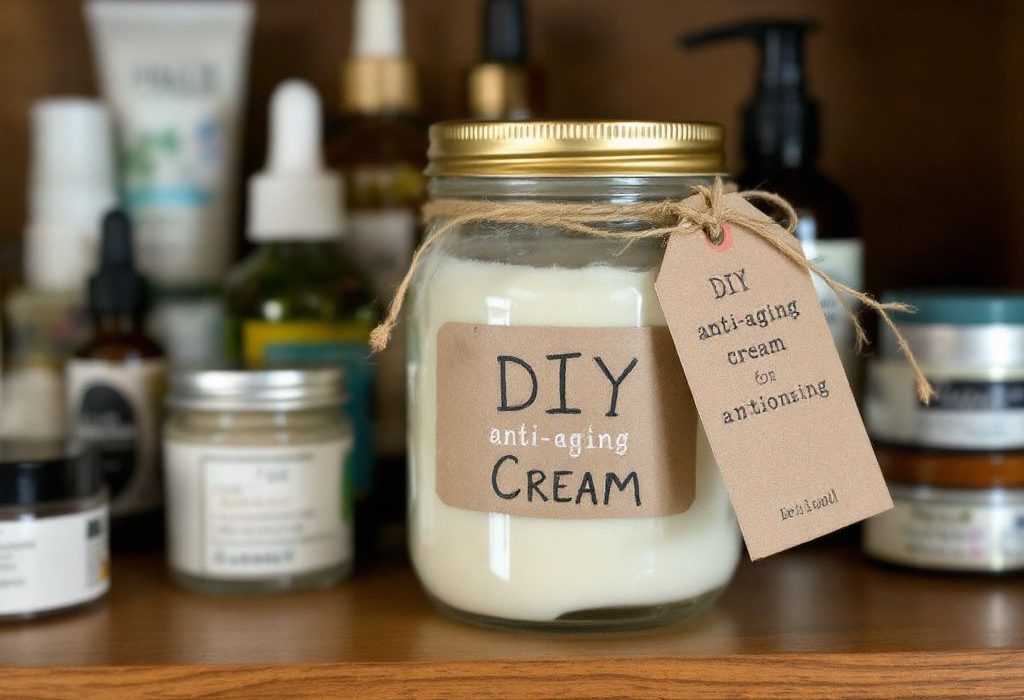
- 5. **Cooling Time: Pour your luscious concoction into a clean jar. Let it cool before screwing on the lid. Once cool, seal and label it. Something like “My Secret Youth Potion” could be fun!
Applying Your DIY Anti Aging Cream
Okay, you’ve got it—the magic is in your hands. Now, for the application. The best practice? Apply it nightly before bed. Seriously, this is when your skin’s in recovery mode and will soak up all those nutrients. Don’t be shy to massage it into your neck and décolletage, too. These neglected areas? Yeah, they’re craving attention just like your face.
Storage Pointers

Keep it simple. Store your DIY anti aging cream in a cool, dry place. Room temperature should be fine most of the time. But if things heat up in the summer, tuck it into the fridge. Not only will it last longer, but that chilled effect can be an invigorating bonus on application.
Troubleshooting: Common Concerns
You might face a hiccup or two. That’s alright, though; let’s tackle them together.

- Hard Texture: If your cream’s too hard, try adding more coconut oil. Easy fix!
- Too Greasy: A bit of trial and error is part of the process—next batch, dial down the coconut oil.
- Odd Smell: Ensure all ingredients are fresh, particularly those essential oils.
Experiment & Enjoy
One batch down—you might get adventurous with the next one. Infusions, extra ingredients—a dash of rosehip oil for extra nutrients or a touch of honey for added sweetness? Yeah, why not? At the heart of it, though, the enjoyment you get in applying something crafted by your own hands, something uniquely yours, that’s rather special.
Now, hand on heart, tell me that doesn’t bring a smile to your face. Just like the raised eyebrow you get when someone asks what makes your skin glow, all secretive, with your DIY potion already coursing through ’em fine lines and battles of time.
Creating your own DIY anti aging cream is not just about saving a few bucks. It’s about cherishing individuality, the confidence in your capabilities to nurture yourself and celebrating authenticity. In crafting a cream, the real beauty is renewed—an elixir that not only sustains youth but imbues the satisfaction that, somehow, you’ve defied the odds with a small jar of joy conjured in your kitchen. Now, how cool is that?
Frequently Asked Questions
What are the benefits of using a hair mask in my hair care routine?
Using a hair mask can provide several benefits, including hydration, smoothing, strengthening, curl definition, heat protection, and damage repair. Hair masks infuse the hair with moisture, help coat the hair shaft to seal split ends, reduce breakage, and protect the hair from heat styling and environmental damage[1][4].
What ingredients should I look for in a hair mask?
Effective hair masks often include ingredients such as coconut oil, argan oil, shea butter, honey, avocado oil, green tea, and coconut water. These ingredients provide nourishment, moisturize, and protect the hair, offering benefits like softening, moisturizing, and protecting against damage[2][5].
How often should I use a hair mask in my routine?
You should use a hair mask whenever your hair feels dry, unmanageable, or in need of intense hydration. This can vary depending on your hair type and needs, but generally, using a hair mask once or twice a week can help maintain healthy and moisturized hair[1][4].
How do I apply a hair mask for the best results?
To apply a hair mask effectively, shampoo your hair first, then apply the mask, focusing especially on the ends where hair tends to be the most damaged. Leave the mask on for anywhere from 10 minutes to overnight, depending on the type of mask and your hair’s needs[1][4].
References