

You wake up one morning, glance in the mirror, and—wait—what’s going on here? A few lines, some spots you didn’t notice before, maybe an overall ‘tired’ look. Sound familiar? It happens, trust me. These little signs of aging can sneak up on us. But hey, you don’t need to break the bank with overpriced creams or invasive procedures to tackle this. Let’s chat about how some simple, everyday ingredients can form your very own DIY anti aging skin care routine.
What’s the Deal with Aging Skin?
Firstly, aging is a natural process. But when it comes to skin, several villains are at play: sun damage, stress, pollutants, and just plain ol’ gravity. Our skin loses elasticity, moisture, and even that vibrant glow we all love—ugh, right? Yet, while sipping from the fountain of youth isn’t exactly on the to-do list, there are clever ways to tackle these signs of aging DIY-style. Buckle up, as we delve into tips and tricks that could possibly outdo those fancy bottles on your vanity shelf.
The Groundwork: Know Your Skin
Okay, first things first. Do you know your skin type? It’s crucial. Before jumping into making your own potions, it’s good to figure this out. Is your skin oily, dry, combination, or sensitive? Understanding this will help you choose the right ingredients—no sense in putting extra-drying stuff on an already desert-like face, or clogging up pores with heavy oils when you’re more on the oily side.
How to Determine Your Skin Type
- The Bare Face Trick: Wash your face with a gentle cleanser. Pat it dry and wait for about an hour. Don’t put anything on it.
- The Blotting Sheet Test: Take a blotting paper and dab your face—forehead, nose, cheeks, and chin.
– **Minimal oil**: Dry or normal. – **Oily all over**: Oily. – **Oil mostly on T-zone**: Combination.
Yay for Natural Ingredients!

Jumping into the world of **DIY anti aging skin care**, it’s the natural ingredients that we’re going to rely on. Nature’s pantry hosts a plethora of options that work wonders.
Go-To Ingredients for DIY Skin Care
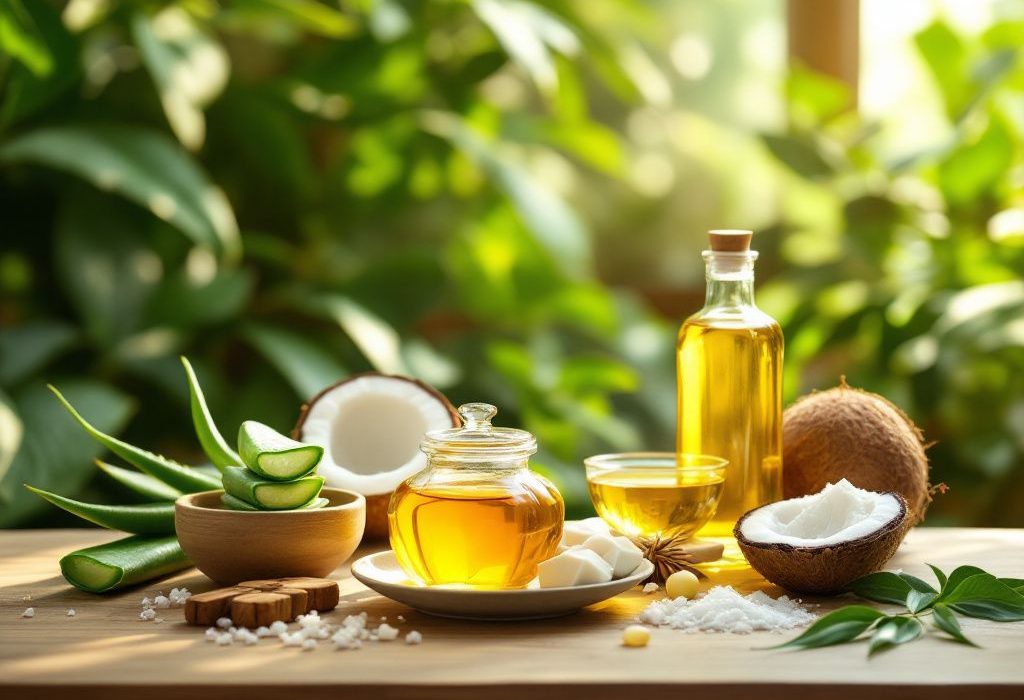
- Aloe Vera: Not just for sunburns. This soothing gel is packed with vitamins C and E—essential heroes for anti-aging.
- Honey: Known for its moisturizing and antibacterial properties. Good-bye dullness!
- Coconut Oil: Hydrates and improves elasticity, perfect for dry skin types.
- Rosehip Oil: Known for vitamin A, this fights free radicals and improves skin tone.
Let’s be real, sometimes the simplest option can be staring right at you in the pantry.
Making Your Own Potions
Refreshing Aloe Vera Face Mask
**Ingredients:**
- tablespoons aloe vera gel
- tablespoon honey
**Instructions:**
- Mix ’em up until well blended.
- Apply to face and leave for 20 minutes.
- Rinse with lukewarm water.
This mask revitalizes your skin. Aloe soothes, honey hydrates. A dynamic duo indeed.

Rosehip Oil Night Serum
**Ingredients:**
- tablespoons rosehip oil
- 5 drops vitamin E oil
**Instructions:**
- In a small glass bottle, combine rosehip and vitamin E oils.
- Shake well before use.
- Before bed, apply a few drops evenly to face and neck.
Vitamin E gives that hydration boost, rosehip targets pigmentation—overnight magic.
Taking It Further: Lifestyle Changes
Look, a serum alone isn’t going to cut it. True DIY anti aging skin care also involves some lifestyle tweaks. Healthy skin comes from within too, right?
Hydration is Key!
- Drink Water: Aim for 8 glasses a day. Water plumps up your skin cells, reducing the fine lines.
Protecting Your Skin

- Sun Protection: UV exposure fast-tracks aging. Even if it’s gloomy outside, make sunscreen a daily ritual.
Synthetic-Free Zone
Give the harsh chemicals a rest and embrace gentle, nourishing products. Over time, you’ll thank yourself.
DIY Avoidance
Sure, this is a DIY article, but let’s not try bananas on our faces just because someone said it was a fun idea! Stick to ingredients that are both beneficial and supported by some decent skincare science. Be cautious with anything that could irritate, especially if you’ve got sensitive skin.
Create Your Own Exfoliating Scrub
Dead skin cells glom onto your face over time. Here’s a basic recipe to keep your skin chlorinated and smooth.
**Ingredients:**

- tablespoon sugar (all skin types require this occasional good scrub)
- tablespoon olive oil
Mix and gently exfoliate; your skin will feel reborn, pinky promise.
Conclusion: Embrace Your Skin Journey
Aging is more a sign of all the life you’ve lived than something to shy away from. Yet, a little DIY anti aging skincare routine never hurt anyone, right? Explore these natural and thoughtful approaches—maybe skip over some glossy magazine tactics—and find what really works for you. Enjoy the process. Wear your skin with pride; it tells your story but with these tips, it might just zhuzh up your tale a little. Happy mixing!
There you have it. Remember, nature gives us little gifts each time we dive into a DIY experiment. It’s your skin we’re talking about, so treat it right and with these DIY approaches in your toolkit, get ready to embrace the glow!
Frequently Asked Questions
What are the benefits of using a hair mask in my hair care routine?
Using a hair mask can provide several benefits, including hydration, smoothing, strengthening, curl definition, heat protection, and damage repair. Hair masks infuse the hair with moisture, help coat the hair shaft to seal split ends, reduce breakage, and protect the hair from heat styling and environmental damage[1][4].
What ingredients should I look for in a hair mask?
Effective hair masks often include ingredients such as coconut oil, argan oil, shea butter, honey, avocado oil, green tea, and coconut water. These ingredients provide nourishment, moisturize, and protect the hair, offering benefits like softening, moisturizing, and protecting against damage[2][5].
How often should I use a hair mask in my routine?
You should use a hair mask whenever your hair feels dry, unmanageable, or in need of intense hydration. This can vary depending on your hair type and needs, but generally, using a hair mask once or twice a week can help maintain healthy and moisturized hair[1][4].
How do I apply a hair mask for the best results?
To apply a hair mask effectively, shampoo your hair first, then apply the mask, focusing especially on the ends where hair tends to be the most damaged. Leave the mask on for anywhere from 10 minutes to overnight, depending on the type of mask and your hair’s needs[1][4].
References