
Ever caught yourself peering a bit too long in the mirror, noticing those new lines that seem to have set up camp on your face overnight? I’ve been there, and let me tell you, it’s perfectly normal to start thinking about how to recapture a hint of that youthful glow. Now, I know, the beauty market is flooded with promises tucked into tiny, expensive bottles. But what if I told you there’s a charming little world of homemade anti aging serums you can dive into, right in the comfort of your own kitchen?
Why Go Homemade?
First off, creating your own anti aging serum at home isn’t just about sticking it to the man or one-upping the beauty industry. It’s about knowing exactly what’s going onto your skin. Having control means you get to pick each ingredient, tailor your serum to suit your specific needs, and often save a pretty penny doing it. Plus, it’s oddly satisfying to source and combine these simple ingredients, watch them turn from a few oils in a dish to a rejuvenating elixir.
The Ingredients Journey
Let’s break down some of the superstar ingredients you might find hobbling together in these serums. Don’t worry, I’ve got all the details for you.
1. Jojoba Oil
Jojoba oil is a wonderful base for any serum. Here’s the thing: it’s structurally similar to our skin’s natural oils, which makes it an excellent moisturizer that doesn’t leave you feeling greasy. If you have hypersensitive skin, trust me on this one, it’s a game-changer.

2. Rosehip Oil
Packed with vitamins A and C, rosehip oil is fantastic when it comes to stimulating collagen production. It helps reduce the appearance of fine lines, which makes it a keeper in your homemade creations.
3. Argan Oil
The ever-popular argan oil! Filled with vitamin E and essential fatty acids, this one’s known for its regenerative properties. It helps in maintaining skin elasticity and softness.
4. Vitamin E Oil
This little powerhouse is not just a recommended addition; it’s necessary—powerful antioxidant properties that extend the shelf life of your serum while nurturing your skin.
5. Frankincense Essential Oil
Frankincense has this magical reputation for its anti aging properties. Sure, it sounds exotic, but its effects on skin tone, wrinkles, and scars make it a worthy inclusion.
Mixing Your Magic Potion

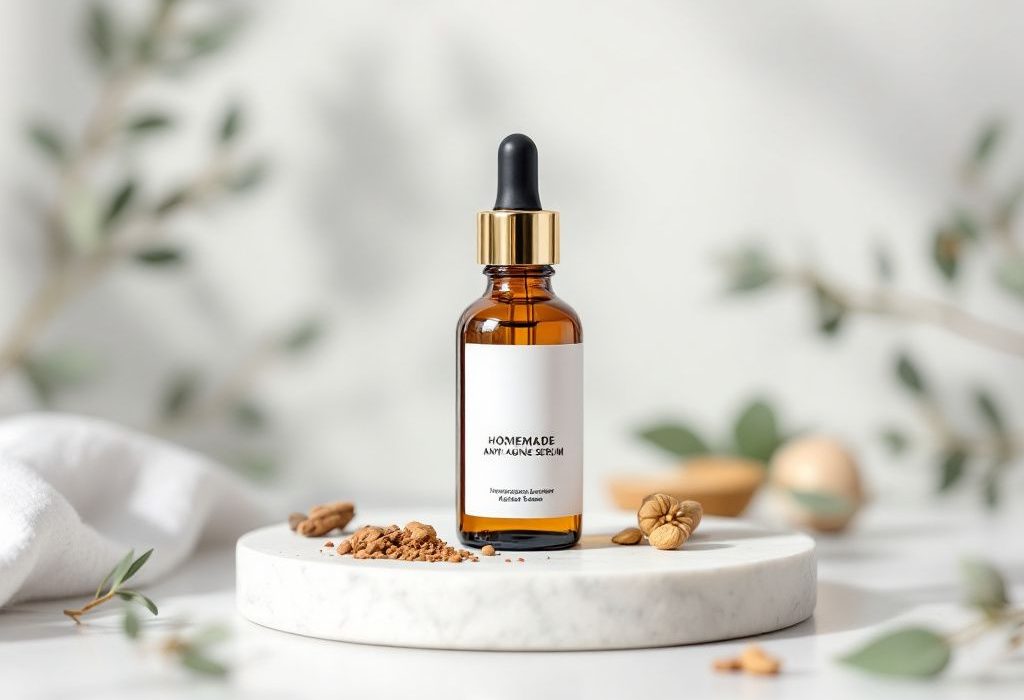
Alright, so you’ve got your ingredients lined up—what’s next? It’s about making them work together. Here’s a basic recipe to get you started. Grab a teaspoon of each: jojoba oil, rosehip oil, and argan oil. Add about half a teaspoon of vitamin E oil and 5 drops of frankincense essential oil. Shake them up in a small glass bottle—voilà! You’ve got yourself a homemade anti aging serum.
**A little tip:** test a drop on your wrist first. No one wants to discover an allergy after slathering stuff all over their face!
Making It Work for You
So, now you’ve got your magic serum, but how and when should you use it? Applying this concoction is best done at night. Your skin does a lot of its healing while you sleep, so nighttime application is when the serum can do its best work. Just a few drops on clean skin, gently dabbed, not rubbed, to allow the skin to absorb it.
**Consistency is key.** It’s like going to the gym; one dab won’t show dramatic results. But stick with it, and your skin might just start cheering.
Experiment and Adapt
Listen, skin is a bit of a fickle friend—what works wonders for one might not for another. Maybe you find lavender, chamomile, or carrot seed essential oil works better for you. That’s the beauty of creating a homemade anti aging serum; you can tweak it till it’s just right.
Keeping It Real
Here’s something to keep in touch with reality—homemade serums can be amazing, but they’re not magic bullet solutions or overnight miracle workers. They’re a piece of the puzzle, accompanying a lifestyle that leans into hydration, plenty of sleep, and a balanced diet.

Common Mistakes
Even at home, it’s easy to get carried away. Here’s a straightforward table of things to remember:
| Mistake | Why It Matters |
|---|---|
| Too Many Ingredients | Can cause reactions; keep it simple. |
| Not Patch Testing | Potential allergy nightmare. |
| Over Exfoliating | Damages skin, undermines serum use. |
| Improper Storage (light/heat) | Compromises the serum’s efficacy. |
Take a breath because diving into skincare doesn’t mean diving headfirst without a plan. Let’s acknowledge this: nails-on-chalkboard kind of frenzies usually don’t serve up the best results.

Sharing is Caring
One last thought—these serums make for great sharing stories. They’re easy to whip up, which means they’re fantastic little DIY projects for friends-night-in, or they’d make lovely personalized gifts. Play around with different blends and jot down what you like. Who knows, you might stumble upon the real gem that ends up claiming queen status in your beauty routine.
Remember, making a homemade anti aging serum is just as much about the journey as it is about the results. Relax into the process, enjoy each stage, and let time tease out a healthier, vibrant you. Trust me on this one, you’ll thank yourself for taking this little skincare adventure.
If you’ve reached the end of this chat and are ready to give your skin some of that much-talked-about DIY love, go ahead—start your potion-making! Have fun, enjoy the ride, and hopefully, see those lines soften and smiles grow broader.
Frequently Asked Questions
What are the benefits of using a hair mask in my hair care routine?
Using a hair mask can provide several benefits, including hydration, smoothing, strengthening, curl definition, heat protection, and damage repair. Hair masks infuse the hair with moisture, help coat the hair shaft to seal split ends, reduce breakage, and protect the hair from heat styling and environmental damage[1][4].
What ingredients should I look for in a hair mask?
Effective hair masks often include ingredients such as coconut oil, argan oil, shea butter, honey, avocado oil, green tea, and coconut water. These ingredients provide nourishment, moisturize, and protect the hair, offering benefits like softening, moisturizing, and protecting against damage[2][5].
How often should I use a hair mask in my routine?
You should use a hair mask whenever your hair feels dry, unmanageable, or in need of intense hydration. This can vary depending on your hair type and needs, but generally, using a hair mask once or twice a week can help maintain healthy and moisturized hair[1][4].
How do I apply a hair mask for the best results?
To apply a hair mask effectively, shampoo your hair first, then apply the mask, focusing especially on the ends where hair tends to be the most damaged. Leave the mask on for anywhere from 10 minutes to overnight, depending on the type of mask and your hair’s needs[1][4].
References